Showing posts with label Crafts. Show all posts

Tuesday, January 24, 2012

Paired Glitz

This was a DIY project in that I saw and did for my secrete Santa. I shopped around to fine Styrofoam pairs. I stuck a wooden skewer in them and spray painted then stuck that in a large block of Styrofoam to let them dry once they were dry I modge podged them using a foam brush and then rolled them in glitter and continued to let them dry again. I also did apples which turned out well but were more difficult because glue and paint drips hardened on the spheres.

Ornaments

I found my self wondering around Micheal's the other day and couldn't help but resist purchasing several glass ornaments. I decided to purchase them with out any idea to do with them. Here is what I came up with.

These three I took glittery ribbon and used a siccor blade to curl it then removed the top of the empty ornament and feed small langhts of the ribbon into the opening and then replaced the top adding extra ribbon to the top.


For this one I stuffed it with tinsel and painted a black stripe around it then using a gold glitter pen maid a box to  mimic Santa's belt.


Monday, December 12, 2011

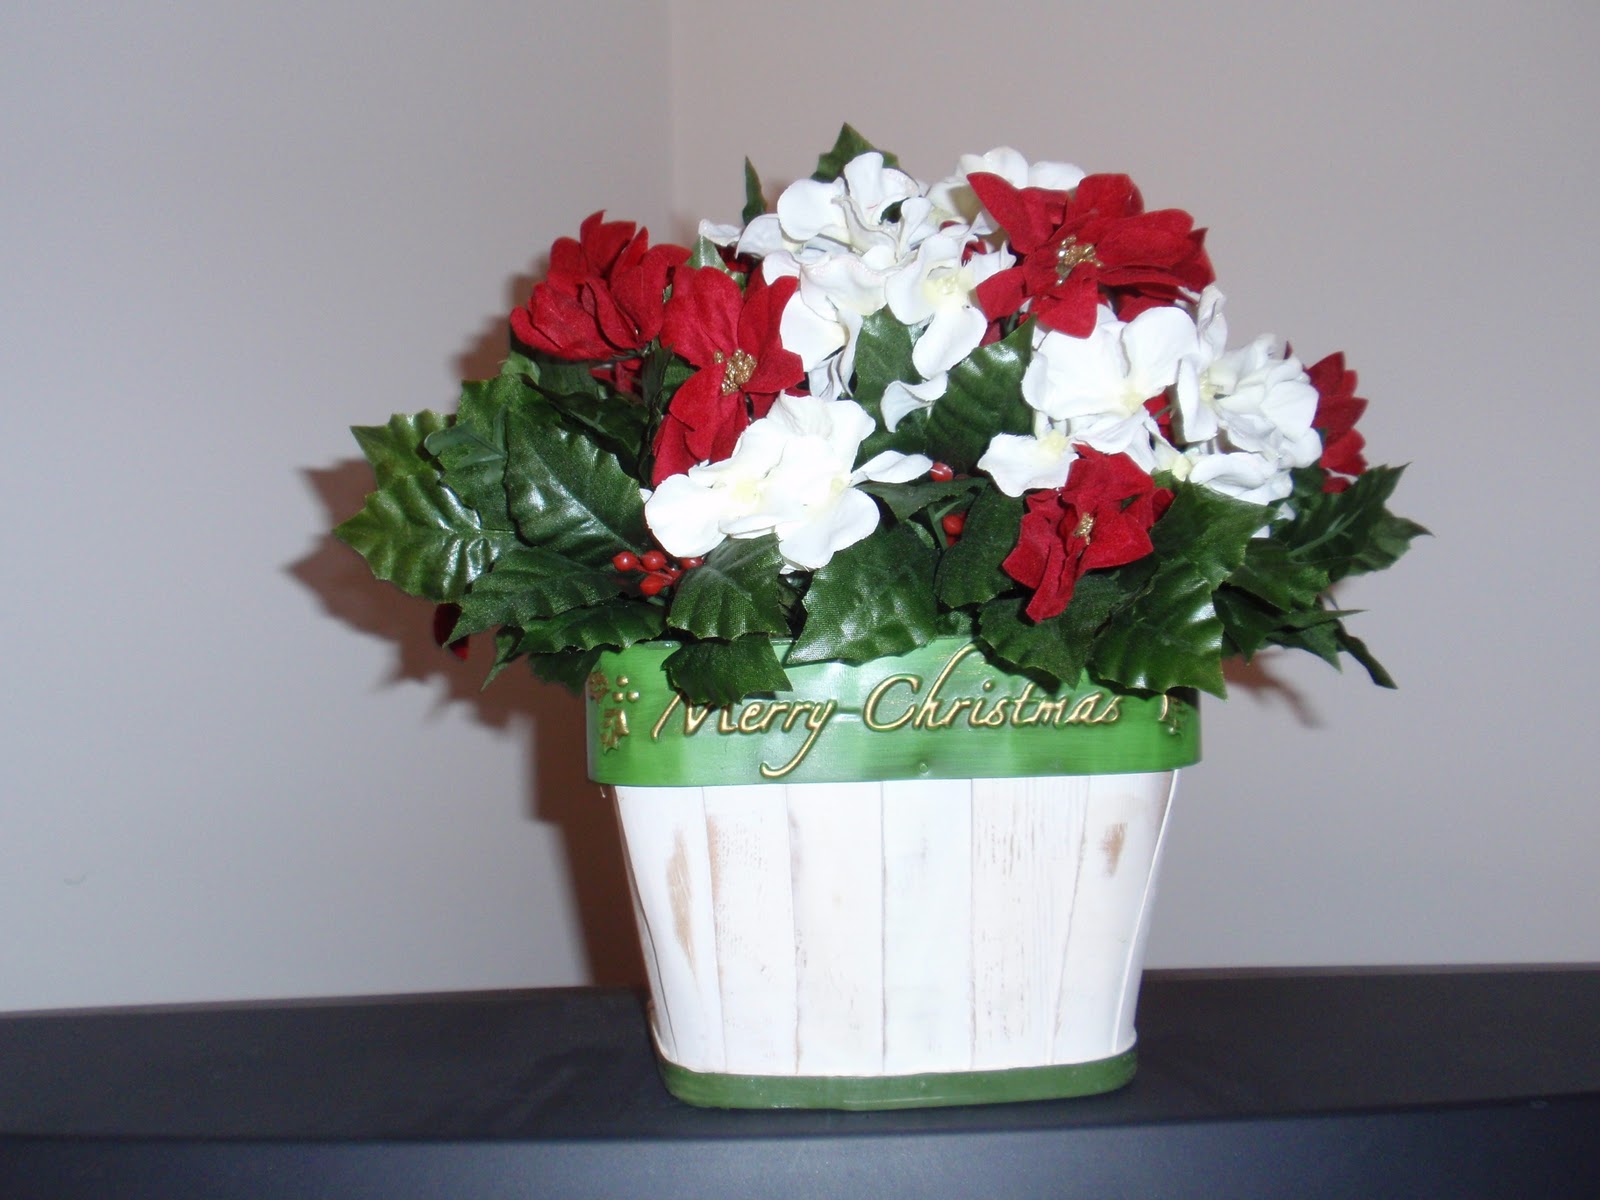
Holiday Center Pieces

Reuse that gift basket you got last year to put flowers in , by a Styrofoam piece to put inside and attach to the bottom of basket, The purchase stems from your favorite store and try to space evenly.

Use your favorite vase or glass holding piece to group cheap ornaments form the dollar store, for depth add lights or strings of beads for texture.

Place trees at various levels on a plate add candles or ornaments here and there in the plate. Add a large wreath to place around it.

Santa's Belt Insperation

Stuffed left over tinsel in an ornament painted black stripe on the ornament and then drew a gold glitter box like a buckle on it with a glitter gel pin

Made gift tags from word document on cumputer glued then glittered. Fun an easy lots of colors and shapes.

Tissue Paper Trees


Need:
3 Styrofoam cones
Hot glue and hot glue gun
Several pieces of desired color tissue paper
Pencil
Scissors

  1. Cut tissue into squares about one inch by one inch.
  2. Wrap tissue paper around the eraser end of a pen(place in the middle of square when wrapping) and using glue gun put a dot of glue on the paper.
  3. Then touch it to the the cone going up and down.
  4. Place it closely together.
  5. Then cut on an angle from the top of the cone down with the scissors to trim the tree shape. (DO this part of the garbage can) save you from some headache clean up.

Monday, December 5, 2011

Jewelry Part III


Jewelry Part II


Jewelry Making I


I tend to raid the clearance jewelry at Micheal's and Hobby lobby, aside from my findings and claps I almost always try to re-purpose broken jewelry or buy sale items.

The squares are from hobby lobby and are easy to do I take pictures or pieces of paper I like and put them inside a pre-made box and close it up.
The crystal with a bag piper is a piece of paper I printed of and modge podged onto the back and sealed.
The pearls and sequins are from sale box and an old belt clasp I turned into a catch.
The keys are old ones that I could not find a use for so I glittered them.
The rest are charms I found and made into necklaces

Hair There

I made this come using loose pearls, a comb, wire, and pre-made pearl sticks. Wrap the loose pearls and wire over the pre-made pearls laying flat on the comb as you work pretty easy. Fun for bridesmaids. Spread the wired pearls out when your done, make sure to move them where you want as you wire.

I bought ribbon and hair clips from the dollar store, make bows and tie off using small thin thread. Take an extra piece and using hot glue, glue around the middle of the bow to cover the thread. Then hot glue to a hair clip. 

 These are simple they are small alligator clips, that have the ribbon hot glued over both edges of the clip. Make sure to open while they are drying so they do not stick together, great for babies and toddlers.

Bobby pins and rhinestones with supper glue pretty simple and fun!

Friday, November 25, 2011

Gifts for Chocolate Lovers.

Gifts for Chocolate Lovers, are easy and inexpensive, I use card stock to print and label what everything is. I also buy my bag to package my goodies the year before when they are on sale.
The chocolate possibilities are endless:
Chocolate covered graham crackers
Chocolate covered pretzels
Chocolate covered coffee beans
Chocolate spoons
Hot Chocolate mix
Choclete almond Bark
ChocolAte peanutbutter bark
Puppy Chow
Zebra bark
Peperment bark
 

Christmas Crafts

Took a preety felt piece and added reisen dropps to it to hang from wall took 15 minutes

I use this piece year round but added some holly from Hobby Lobby for the season!

Recycled Wrapping Papper and Christmas Card Wreath


 I used scrapps of wrapping paper and extra christmas cards to trace and cut out a shape of holly then glued that on to a large piece of card board I cut out to make a wreath, glue a pop can top on the back for hanging!

Saturday, April 16, 2011

Boxed Out

Rewind six years ago, I was converting my room into a Hawaiian paradise. I found boxes 3 cardboard boxes that fit perfectly on clearance for 25 cents apiece. Now, in my conversion to a more sophisticated color palette, I found my barging boxes clashing with my new style. However, I didn’t want to lose my prime storage space. I decided to make them over with just a little paint, some wrapping paper, and Modge Podge. Total cost 8 dollars for brown paint, everything else I had on hand.
It just goes to show items can be made over to work for you  and your needs. You are also not limited to just the types of boxes in the picture. Pardon the pun but think outside the box. Its a great way to use up that left over paint or wrapping paper.
1.       Start with coating the boxes with 3 layers of paint. Let dry in between coats.
2.       Measure the box bottoms and Lid; Length x Width, Length x height, Width x height. You need two of each for both the lid and box.
3.       I used wrapping paper that had 1 inch grid lines marked on it which made things easier. It was also something I had around the house so I didn’t have to pay extra. When you measure on the paper make sure you have two of each.
4.       Check to make sure each piece fits, by laying it in the box and using your nail to create folds for paper that is too big. I tried to make it so that the edges over lapped to the bottom, this way when I laid the last piece the bottom in there were no gaps in the paper.
5.       Modge podge the box then add the shortest side corner pieces in first. I started with attaching them to the outer edge of the box then rolling them to the inside and then applying more Modge Podge over to seal it. I then moved to the longer side piece. (Try folding the pieces in half. (hotdog style) To accomplish this then smoothing them from outside to the inside of the box to achieve this.)
6.       Place the biggest piece in last go slow, and seal with a layer of Modge Podge on top. It should dry in about 2 hours.
7.        Come back and add paint touch ups to the edges and outside of the box where needed, let dry 2 hours later.
8.       Add Modge Podge to the outside, of the box let dry and enjoy.


Tuesday, April 12, 2011

Tin Tiles- Flea Market Find Rehab

I bought these at the local flea market. They were muddy and had lead based paint. My first step was to wash them with an S.O.S pad. It took care of some of the paint and almost all the mud. I then used a paint scraper to do the rest. This task was a bit of a pain and took a long time but was worth it. Make sure if you do this to take care around the edges so you don't cut yourself. The tiles are thin and when they are taken out they are sometimes jagged and bent. I washed the tiles again and let them dry for a day. I talked to my local paint guru, who recommended I used a latex paint. It took about two coats , I let them dry in between for a day. I decided to make the holes on the edges bigger (when they put the tiles up they used nails which left holes in sides. I used an ice pick to to enlarge the holes. This allowed me to string ribbon through the holes to hang the tiles off a hook. I tied the the ribbon in a small knot, on the back side, to keep it from coming out. This project took me several months because I was waiting for right ribbon and debating on framing the tiles. It was good that I took my time finishing it. Taking my time allowed me to examine my options and play with what I wanted to do. I ultimately decided to use the ribbon so that if I change my mind and decided to frame the tiles I still can.